Adding a role
In this guide we will show you how to use Identity to create a role.
Want to learn more about roles?
Head over to Concepts - roles to find out more.
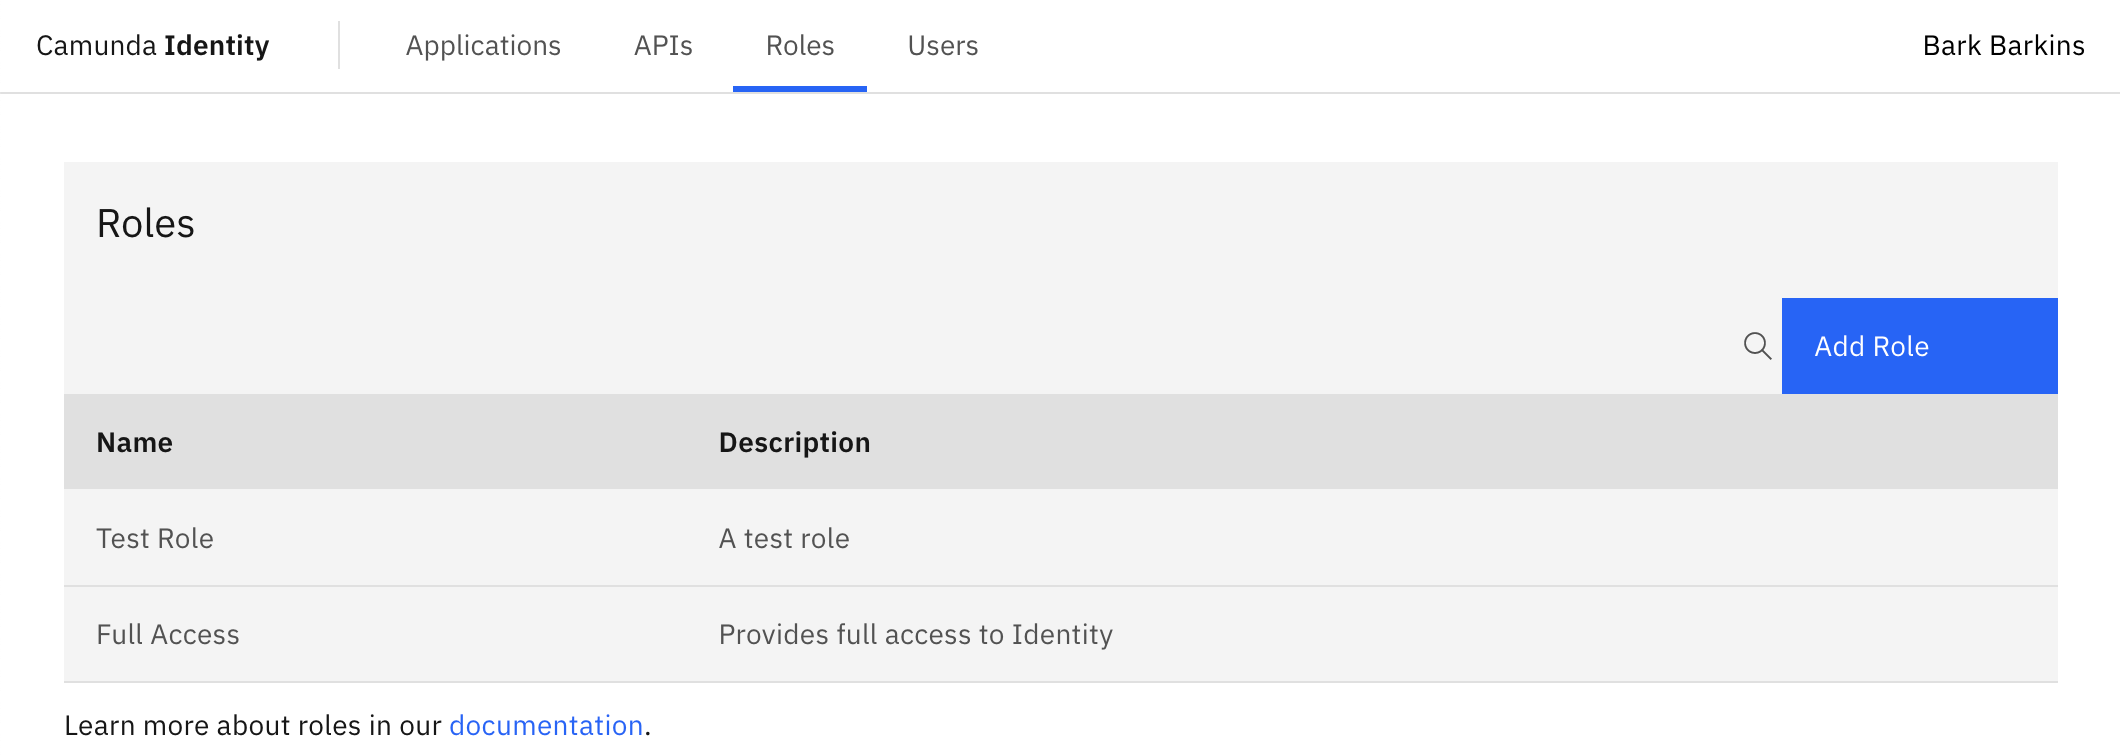
- Log in to the Identity UI and navigate to the Roles tab:

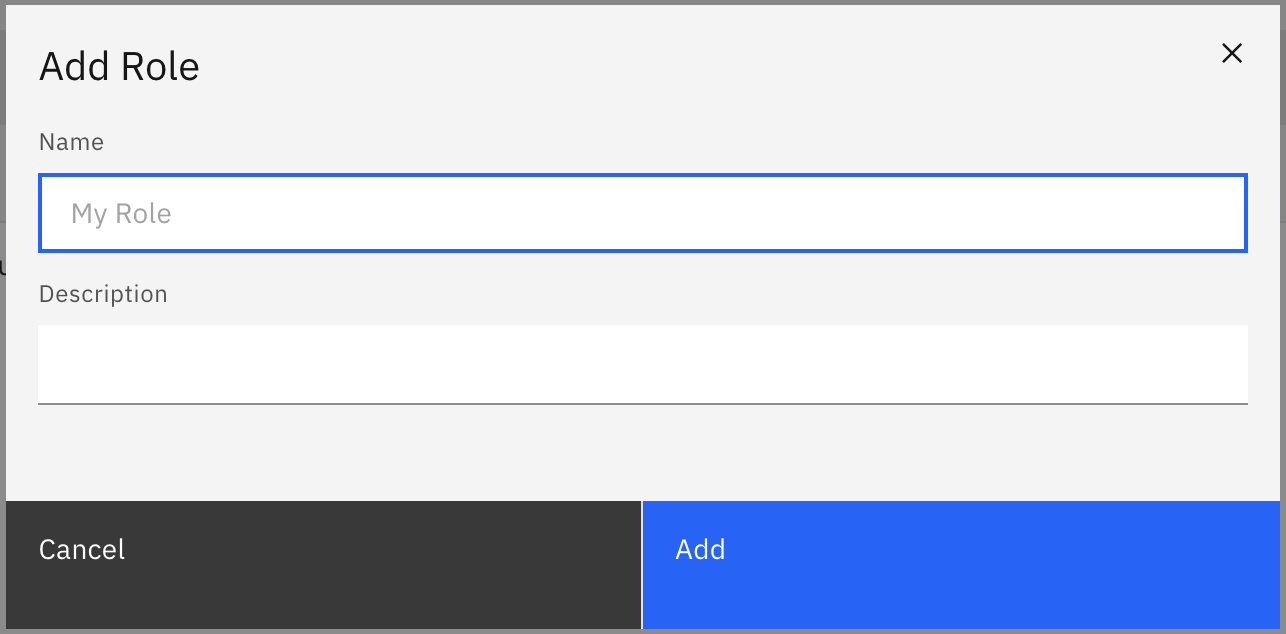
- Click the Add Role button located on the top right of the table and a modal will open:

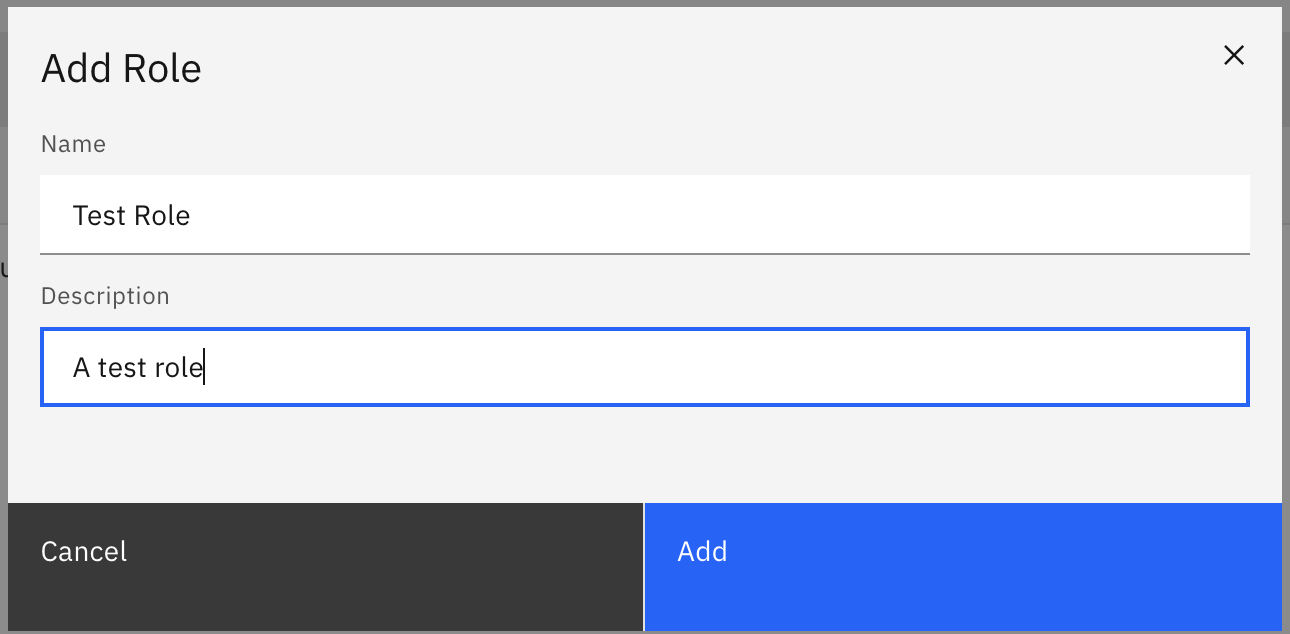
- We are now able to fill out the details of the role. For this guide, we will use a set of example values. When you have inserted the details, click Add:

On confirmation, the modal will close, the table will update, and your new role will be shown:

You are now able to click on your new role to view the details:
