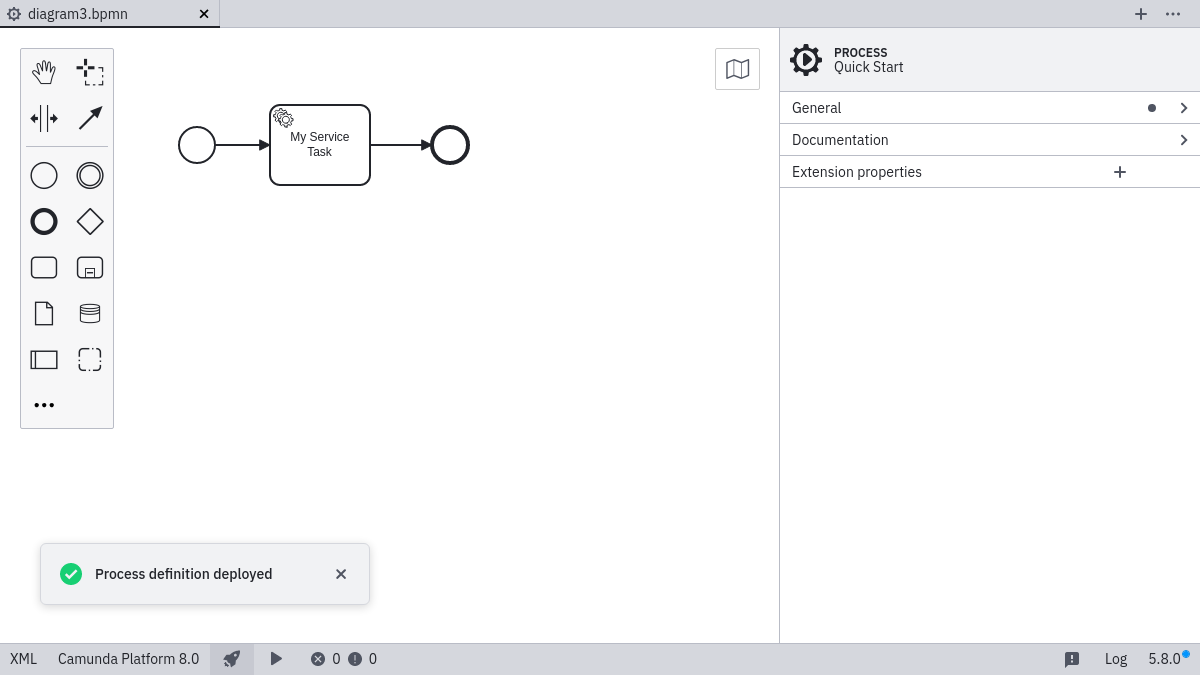
Deploy diagram
Desktop Modeler can directly deploy diagrams and start process instances in Camunda 8 Self-Managed. Follow the steps below to deploy a diagram:
- Click the rocket-shaped deployment icon:
- Click Camunda 8 Self-Managed:
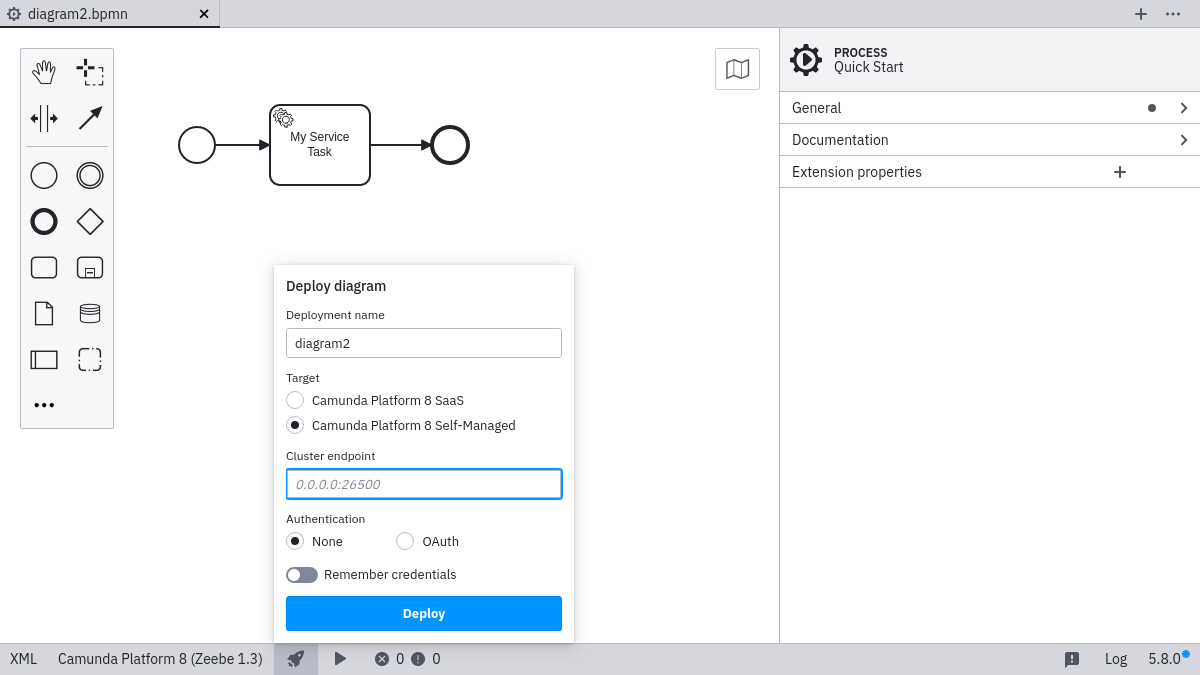
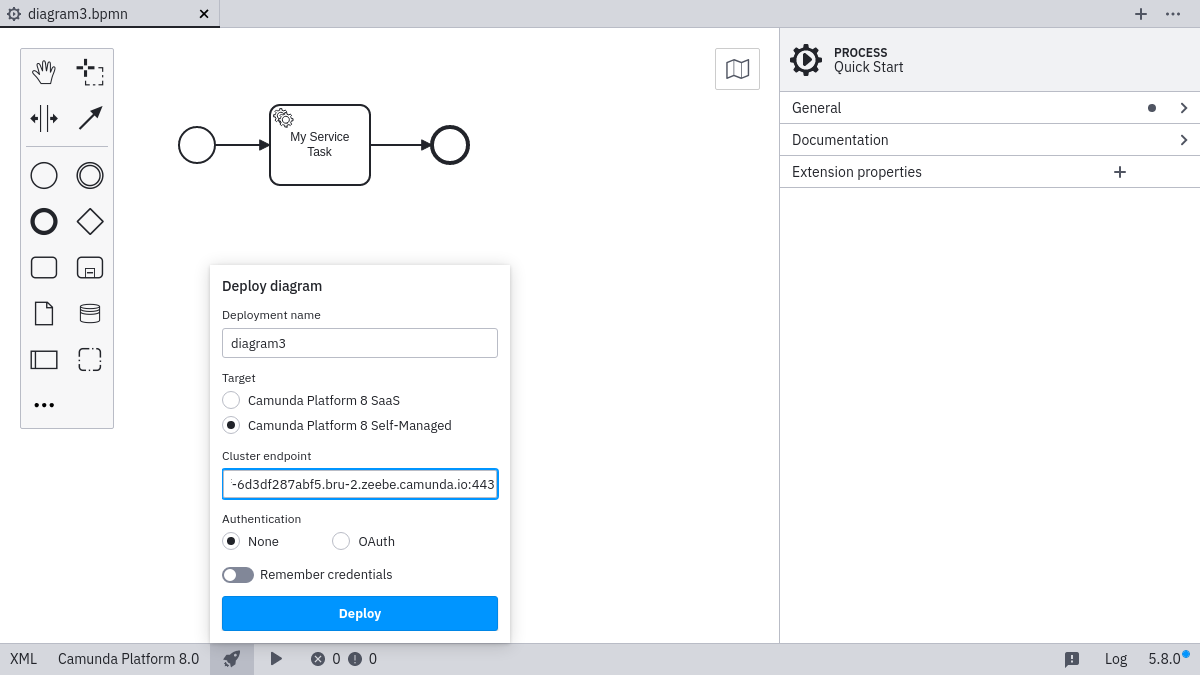
- Input the
Cluster endpoint:
note
You can connect to Camunda 8 both securely and insecurely through the https and http protocols.
Secured connections to a remote endpoint will only be established if the remote server certificate is trusted by the app. Ensure that signing trusted roots and intermediate certificates are known to the app.
- Select Basic, and input your username and password in case your gateway requires basic authentication:
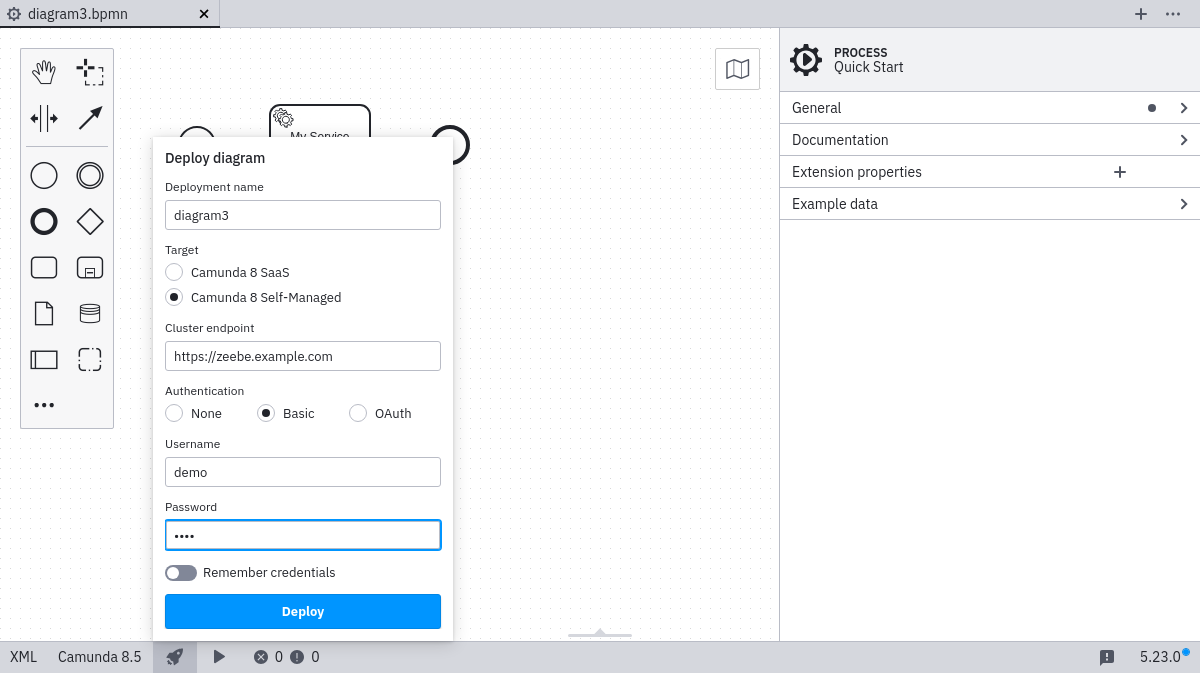
- Select OAuth, and input the credentials in case your gateway requires authentication with OAuth:
note
The OAuth URL needs to contain the full path to the token endpoint, i.e. https://<keycloak base url>/auth/realms/camunda-platform/protocol/openid-connect/token.
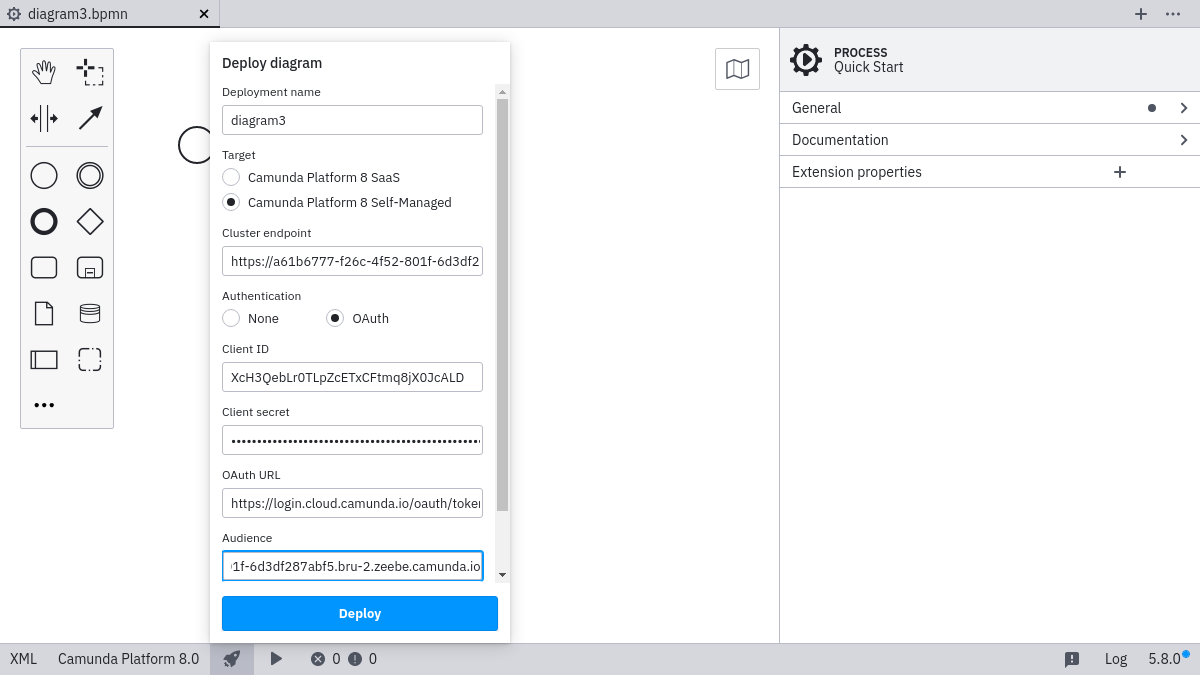
Select the Remember checkbox if you want to locally store the connection information.
Click Deploy to perform the deployment.
