Create a group
In this guide we will show you how to use Identity to create a group.
Want to learn more about groups?
Head over to our documentation on groups to learn more.
Create a group
To create a group using Identity, take the following steps:
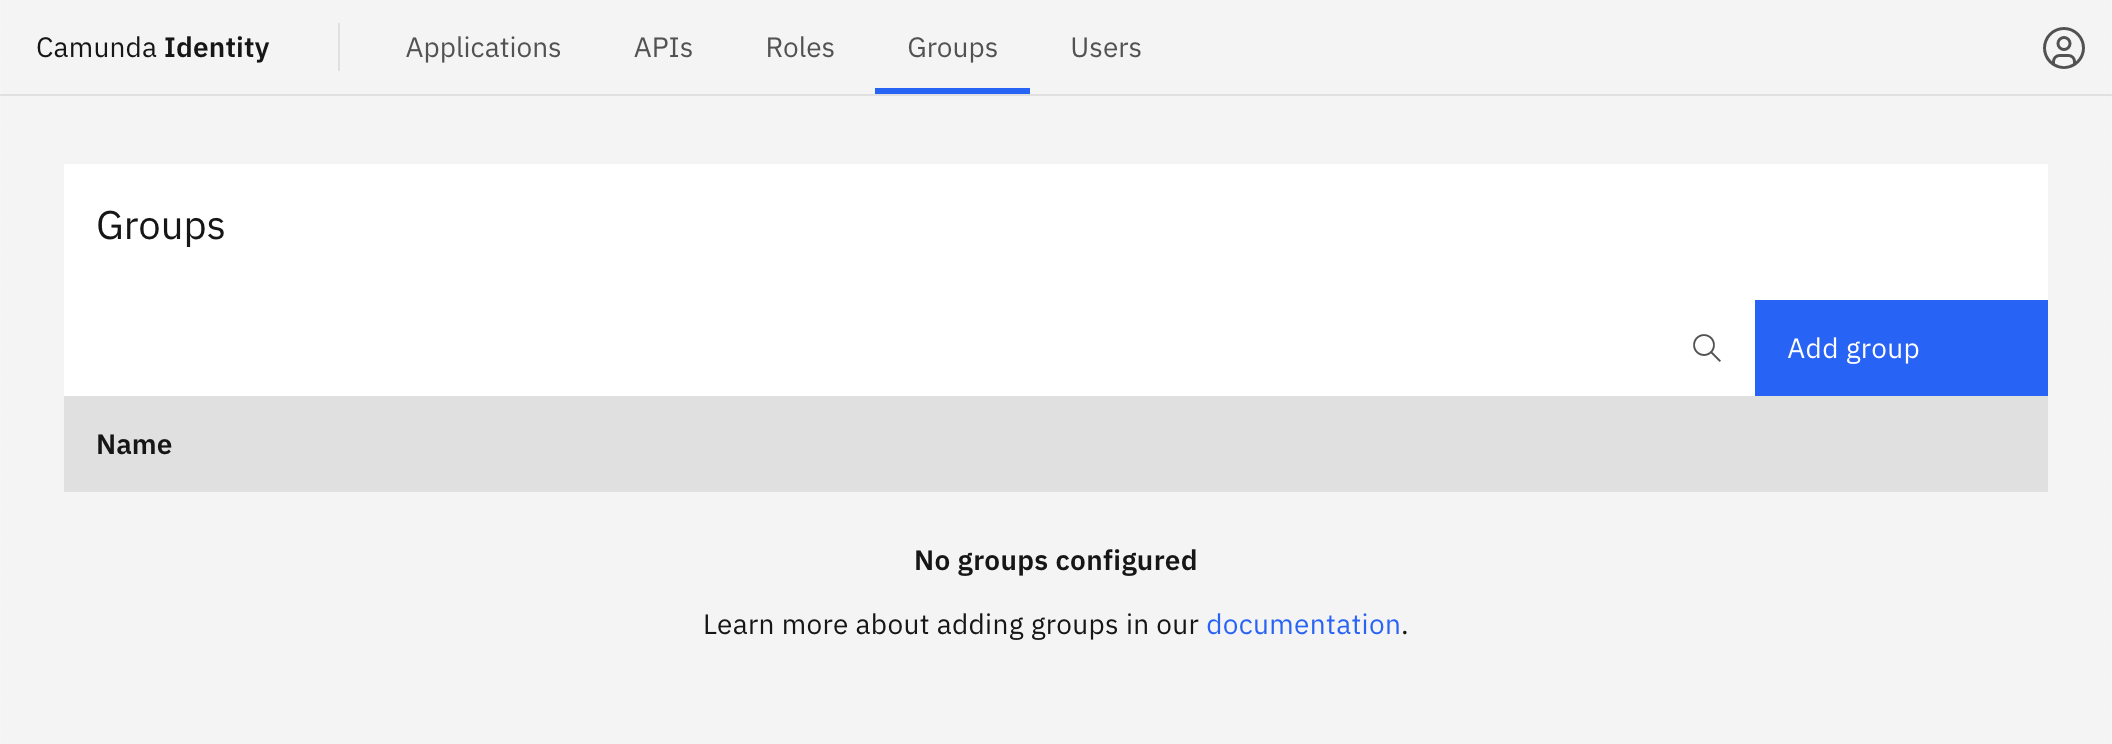
- Log in to the Identity UI and navigate to the Groups tab:

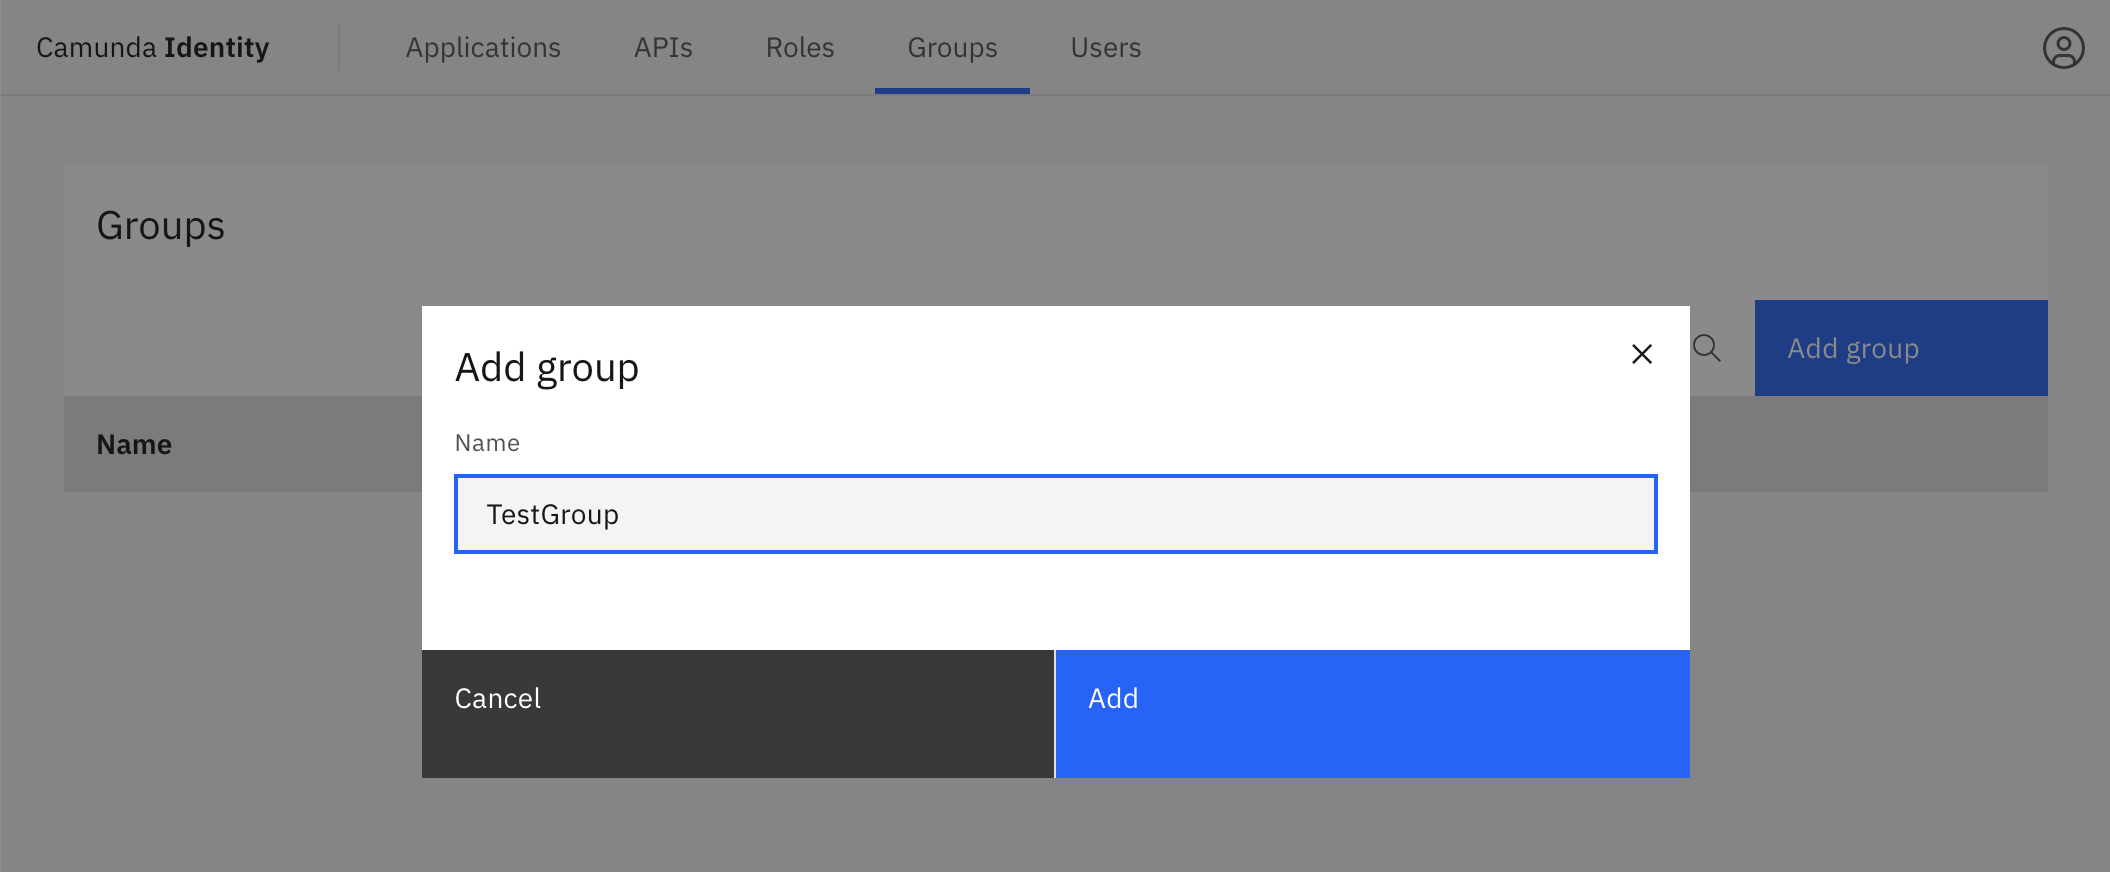
Click the Add Group button located on the top right of the table and a modal will open.
Fill in the name of the group. For this guide, we use an example value. After inserting the name, click Add:

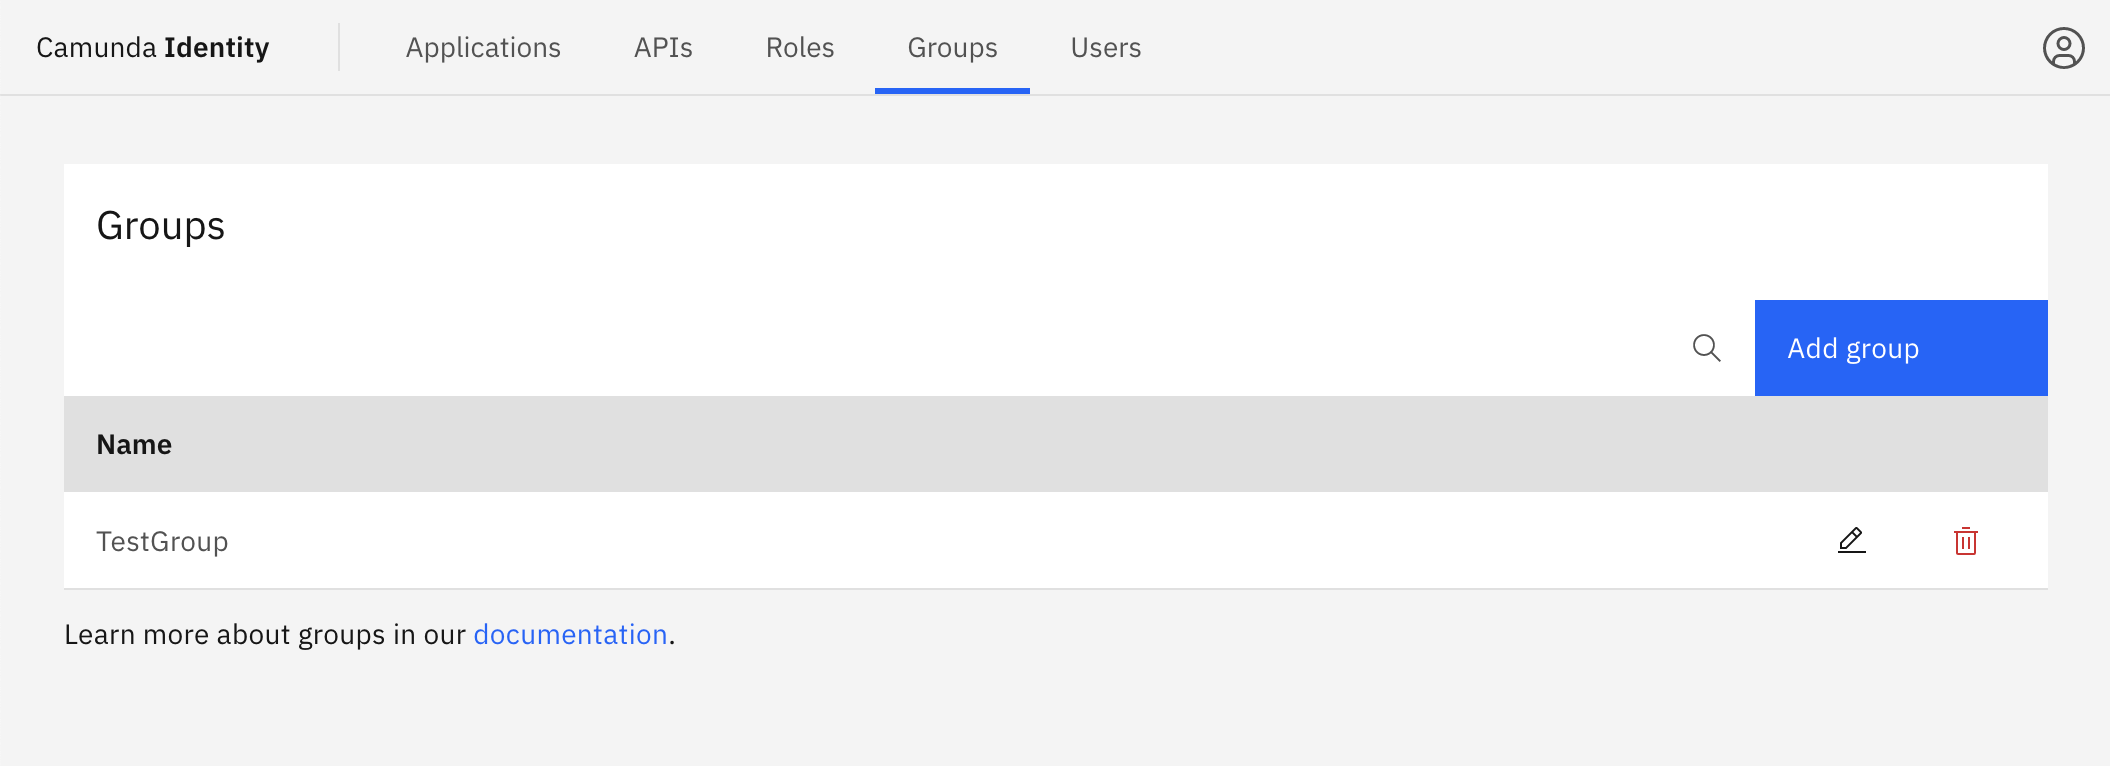
On confirmation, the modal closes, the table updates, and your new group is shown:
