Building forms with Modeler
The initial release of Camunda Forms includes a debut minimal feature set, which will be expanded with upcoming versions.
If using with Camunda 7, note that the Camunda Forms feature was added with the 4.7.0 release of Desktop Modeler. Therefore, they can be used within BPMN diagrams running on Camunda 7 version 7.15.0 or later.
Overview
The Camunda Forms feature allows you to easily design and configure forms. Once configured, they can be connected to a user task or start event to implement a task form in your application.
While you can incorporate Camunda Forms solely within Camunda 8, you can also utilize Camunda Forms in Camunda 7. After deploying a diagram with an embedded form, Tasklist imports this form schema and uses it to render the form on every task assigned to it.
Quickstart
Create new form
To start building a form, log in to your Camunda 8 account or open Desktop Modeler and take the following steps:
- Click on the Modeler tab at the top of the page or alternatively open the File menu in Desktop Modeler.
- Open any project from your Web Modeler home view.
- Click the blue New button and choose Form.
Build your form
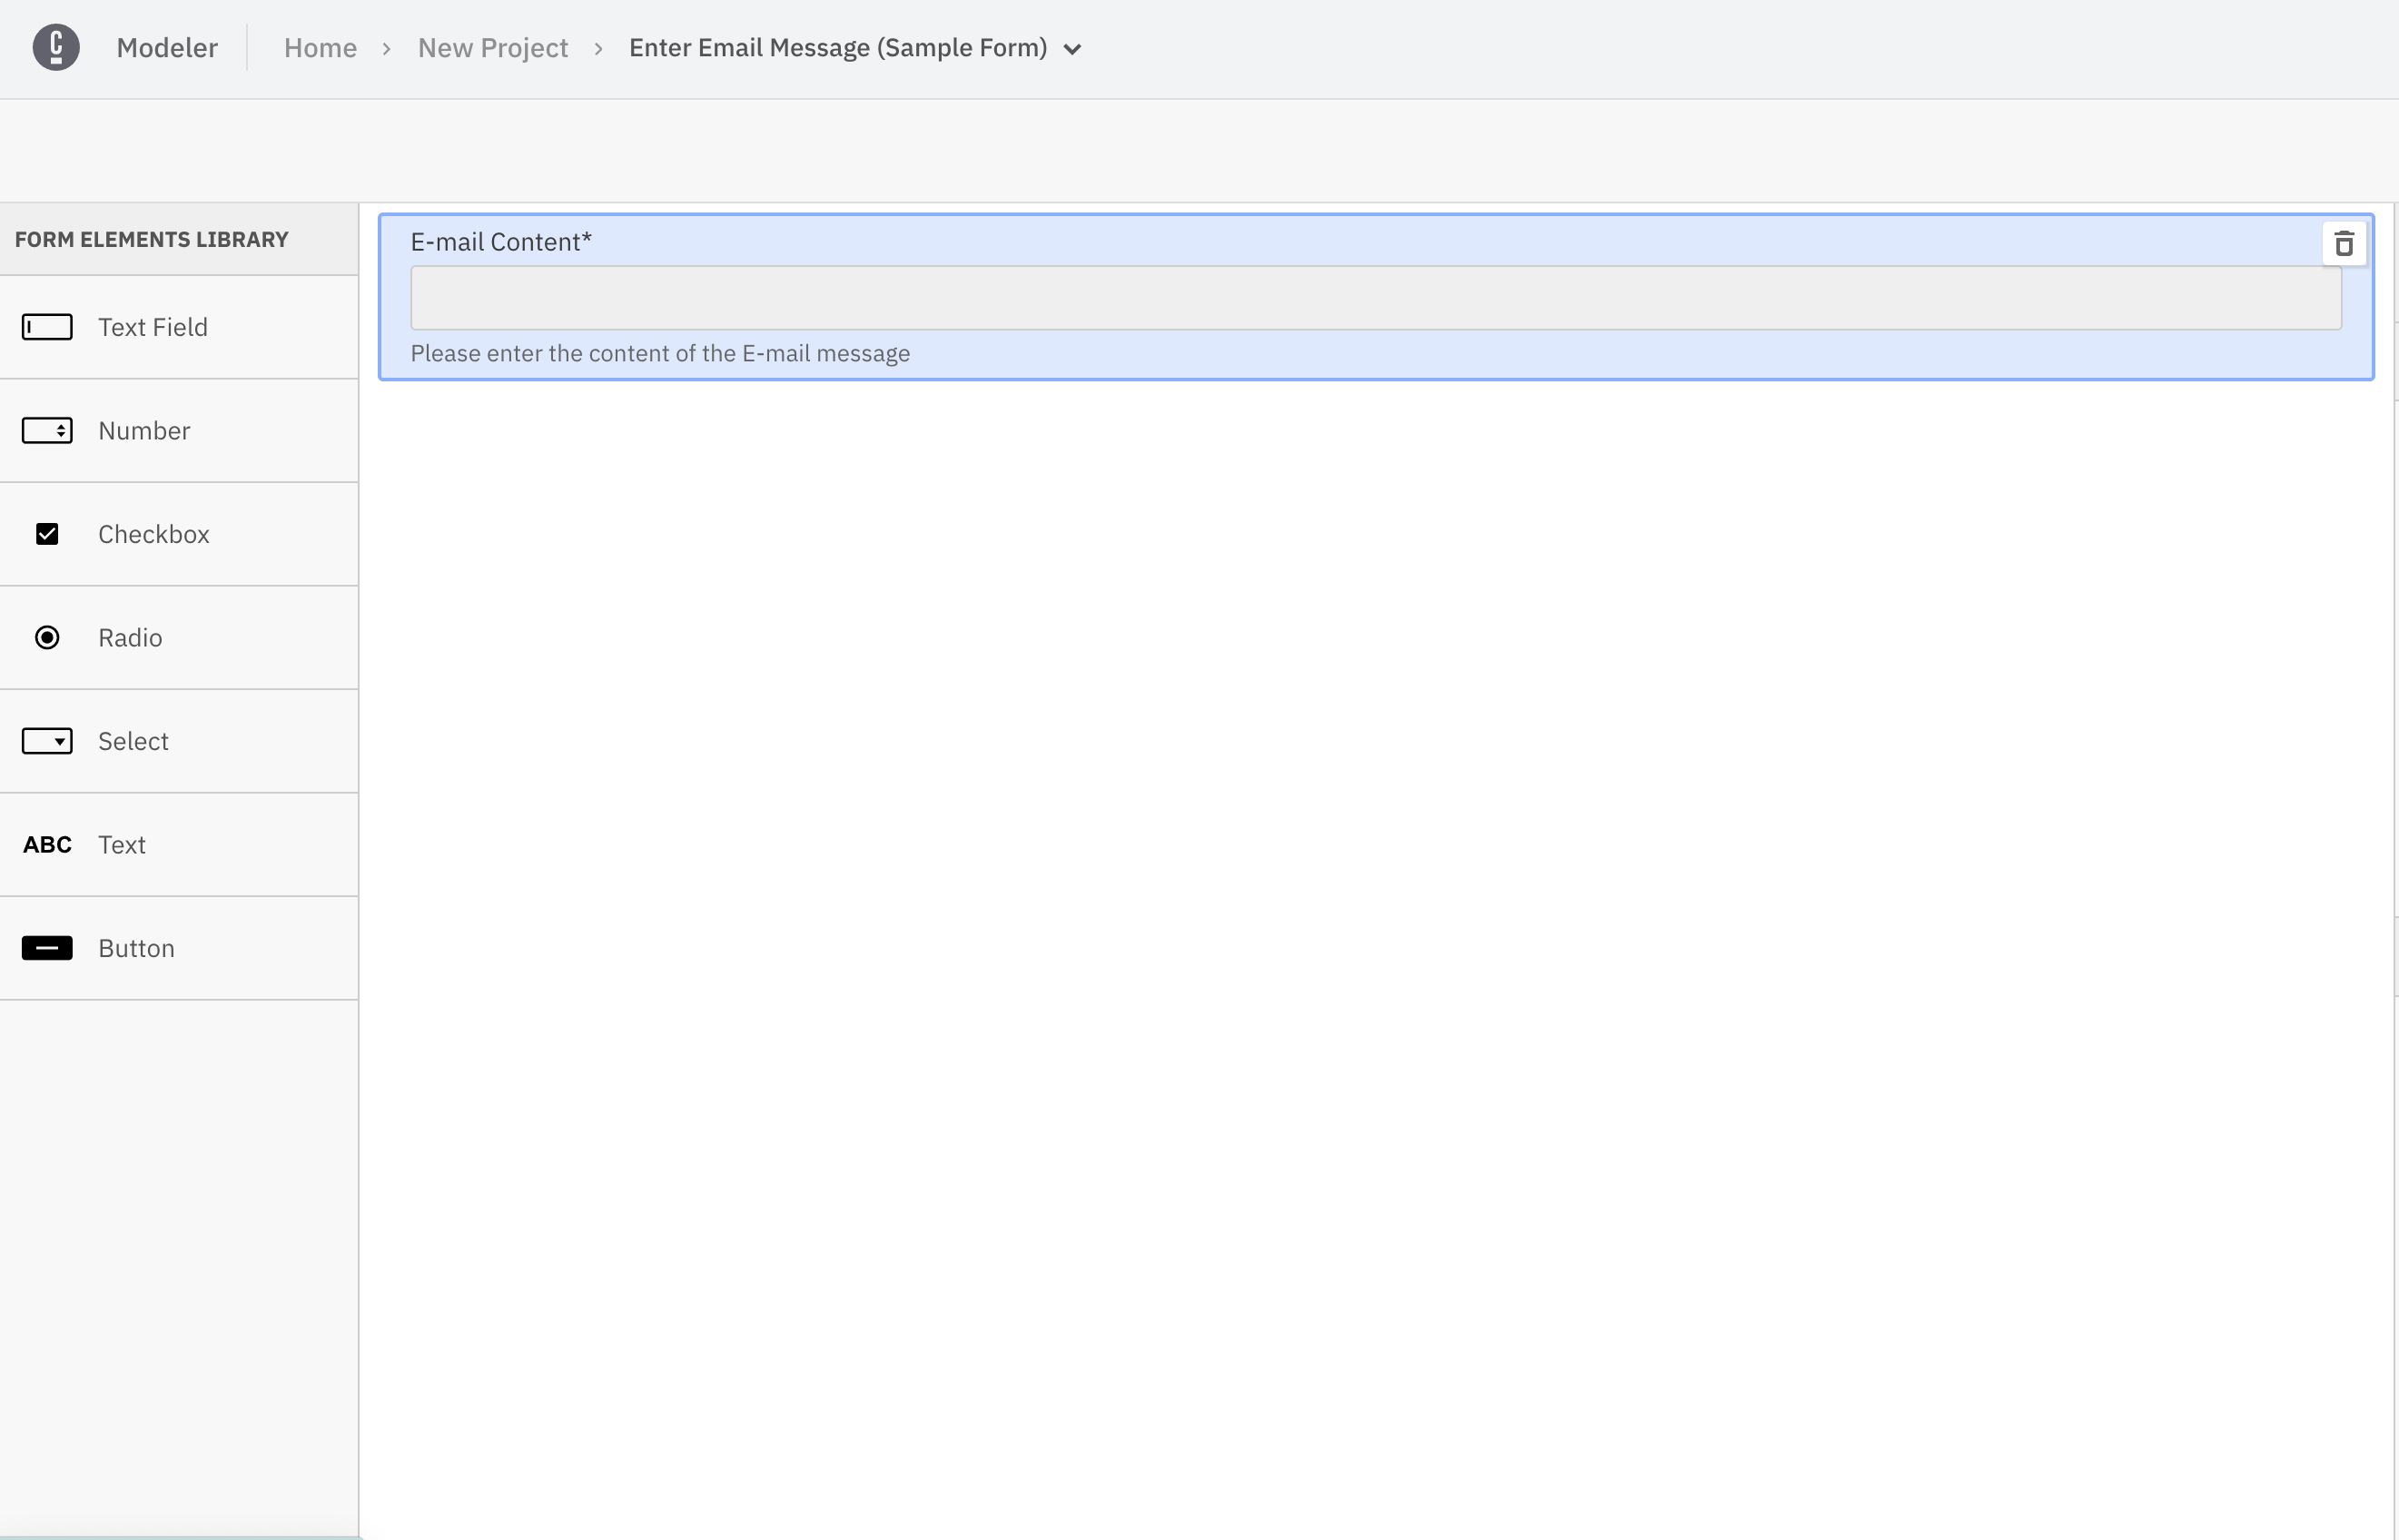
Now you can start to build your Camunda form. Right after creating your form, you can name it by replacing the New Form text with the name of your choice. In this example, we'll build a form to help with a task in obtaining an email message.

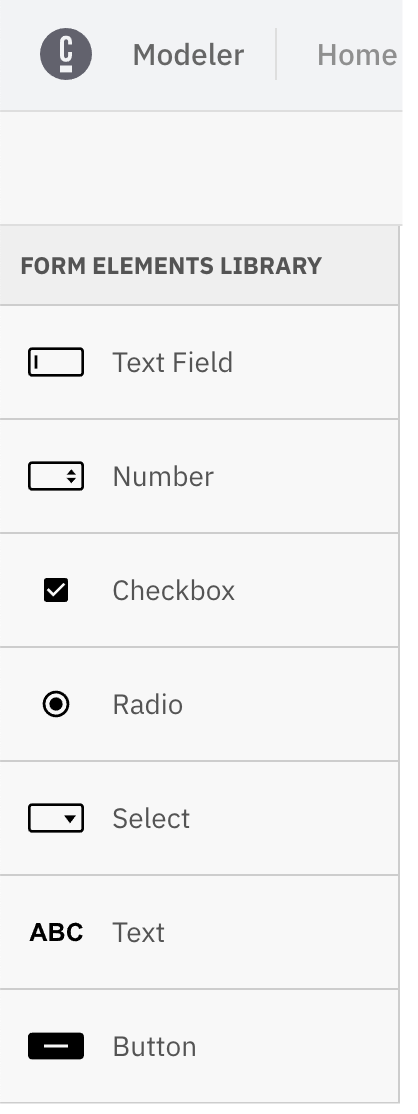
Add your desired elements from the palette on the left side by dragging and dropping them onto the canvas.

Within Forms, we have the option to add text fields, numerical values, checkboxes, radio elements, selection menus, text components, and buttons.
Within Camunda 7, you can also utilize embedded forms.
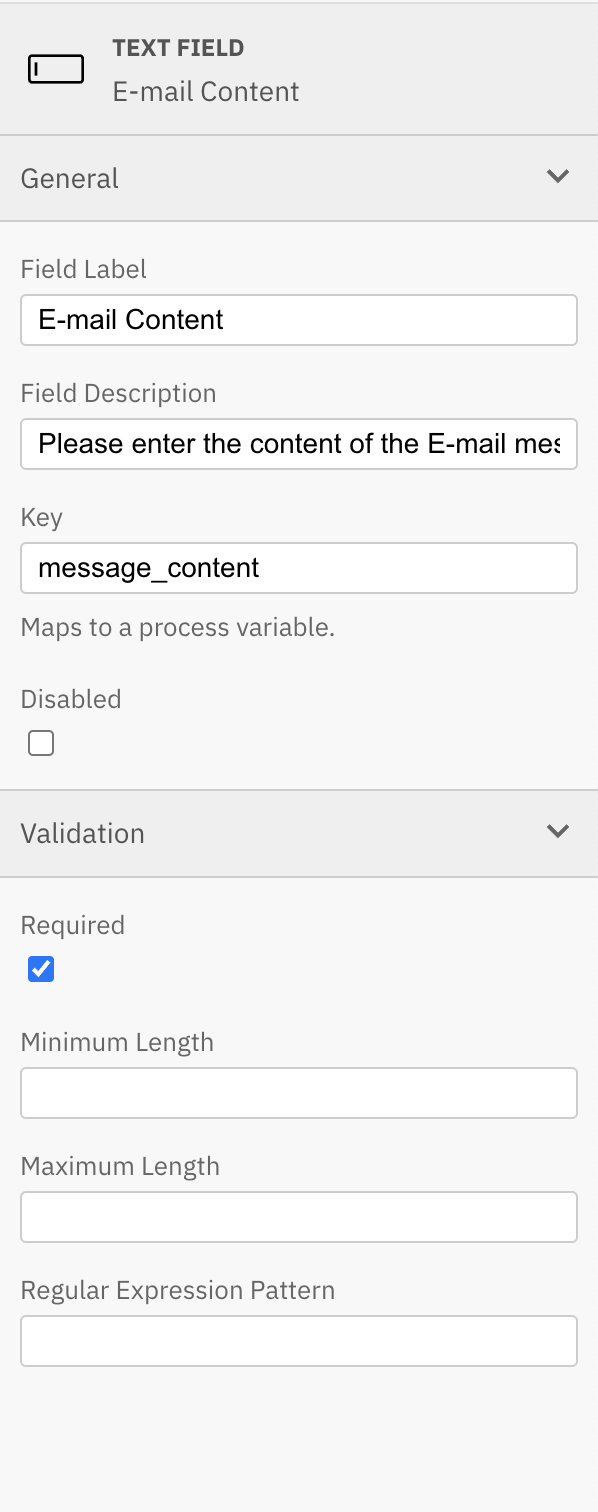
In the properties panel on the right side of the page, view and edit attributes that apply to the selected form element. For example, apply a minimum or maximum length to a text field, or require a minimum or maximum value within a number element. In this case, we have labeled the field, described the field, and required an input for our email message.

Refer to the camunda forms reference to explore all form elements and configuration options in detail.
Save your form
To save your form in Camunda 8, you don't have to do anything. Web Modeler will autosave every change you make.
To save your form in Camunda 7, click File > Save File As... in the top-level menu. Select a location on your file system to store the form as .form file. You can load that file again by clicking File > Open File....
Connect your form to a BPMN diagram
Next, let's implement a task form into a diagram. In tandem, we can connect your form to a user task or start event.
For Camunda 7, refer to the user task forms guide to learn how to implement a task form in your application.
Click the Modeler tab at the top of the page and open any project from your Web Modeler home view.
Take the following steps:
- Select the diagram where you'd like to apply your form.
- Select the user task requiring the help of a form.
- On the right side of the selected user task, select the blue overlay with three white horizontal lines to open the navigation menu.
- Navigate to the form you want to connect and click the blue Import button.
- When a user task has a connected form, the blue overlay will always stay visible on the right side of the task.
Note that when using Camunda Forms, any submit button present in the form schema is hidden so we can control when a user can complete a task.
Click on the bottom left corner that says JSON to switch to the JSON view. Use caution when naming the fields of your form. Fields have their values pre-filled from variables with the same name.
Copy the JSON schema, and go back to the BPMN diagram you modeled earlier. Select the user task and click on the Forms tab. After switching tabs, you should see the field where you can paste the form JSON schema. Paste the schema and save the file.
Deploy your diagram and start an instance
To execute your completed process diagram, click the blue Deploy diagram button. You can now start a new process instance to initiate your process diagram. Click the blue Start instance button. You can now monitor your instances in Operate.
To complete a user task, click the honeycomb icon button next to the Start instance button, and View user tasks to automatically be taken to Tasklist.
To deploy with Camunda 7, use the process engine.