Deploy a workflow
In this section, we're going to start up the Zeebe broker as well as Camunda Operate, a tool that gives you visibility into deployed workflows and running workflow instances and contains tooling for fixing problems in those workflow instances.
We offer Operate free of charge for unrestricted non-production use because we think it's a great tool for getting familiar with Zeebe and building initial proofs-of-concept. And at this time, Operate is available for non-production use only. In the future, we'll offer an Operate enterprise license that allows for production use, too.
Before we run the Zeebe broker, we need to configure an Elasticsearch exporter in the Zeebe configuration file. Which leads to the question: what's an exporter, and why is Elasticsearch a part of this tutorial?
The answer is that Zeebe itself doesn't store historic data related to your workflow instances. If you want to keep this data for auditing or for analysis, you need to export to another storage system. Zeebe does provide an easy-to-use exporter interface, and it also offers an Elasticsearch exporter out of the box. (See: Exporters)
Elasticsearch is also what Camunda Operate uses to store data, so to run Operate, you need to enable the Elasticsearch exporter in Zeebe and run an instance of Elasticsearch. In this section and the next section of the tutorial, we'll use Operate to visualize what's going on in Zeebe with each step we take.
Docker compose
If you are using Docker and zeebe-docker-compose then follow the instructions in the README file in the operate directory of that repository to start Zeebe and Operate. Once you have done that, skip the following section, and continue from check the status of the broker.
If you are using individual components, then you will need to manually configure and start components.
Manually configure and start Zeebe and Operate
These instructions are for using separate components, and are not necessary when using Docker.
First, copy the following lines into a new file getting-started.yaml file (in the config directory of the Zeebe broker).
zeebe:
  broker:
    exporters:
      elasticsearch:
        className: io.zeebe.exporter.ElasticsearchExporter
These settings enable the Zeebe Elasticsearch exporter.
Note: Some command examples might not work on Windows if you use cmd or Powershell. For Windows users we recommend to use a bash-like shell, i.e. Git Bash, Cygwin or MinGW for this guide.
Next, open Terminal or another command line tool and start up Elasticsearch.
cd elasticsearch-6.7.0
Linux / Mac
bin/elasticsearch
Windows
bin\elasticsearch.bat
You'll know that startup was successful when you see something like:
[2019-04-05T10:26:22,288][INFO ][o.e.n.Node ] [oy0juRR] started
Then start the Zeebe broker in another Terminal window.
./bin/broker --spring.config.location=file:./config/getting-started.yaml
And finally, start Operate in yet another Terminal window. Note that you'll need port 8080 in order to run Operate and access the UI, so be sure to check that it's available.
cd camunda-operate-distro-1.0.0-RC2
bin/operate
To confirm that Operate was started, go to http://localhost:8080. You should see the following:
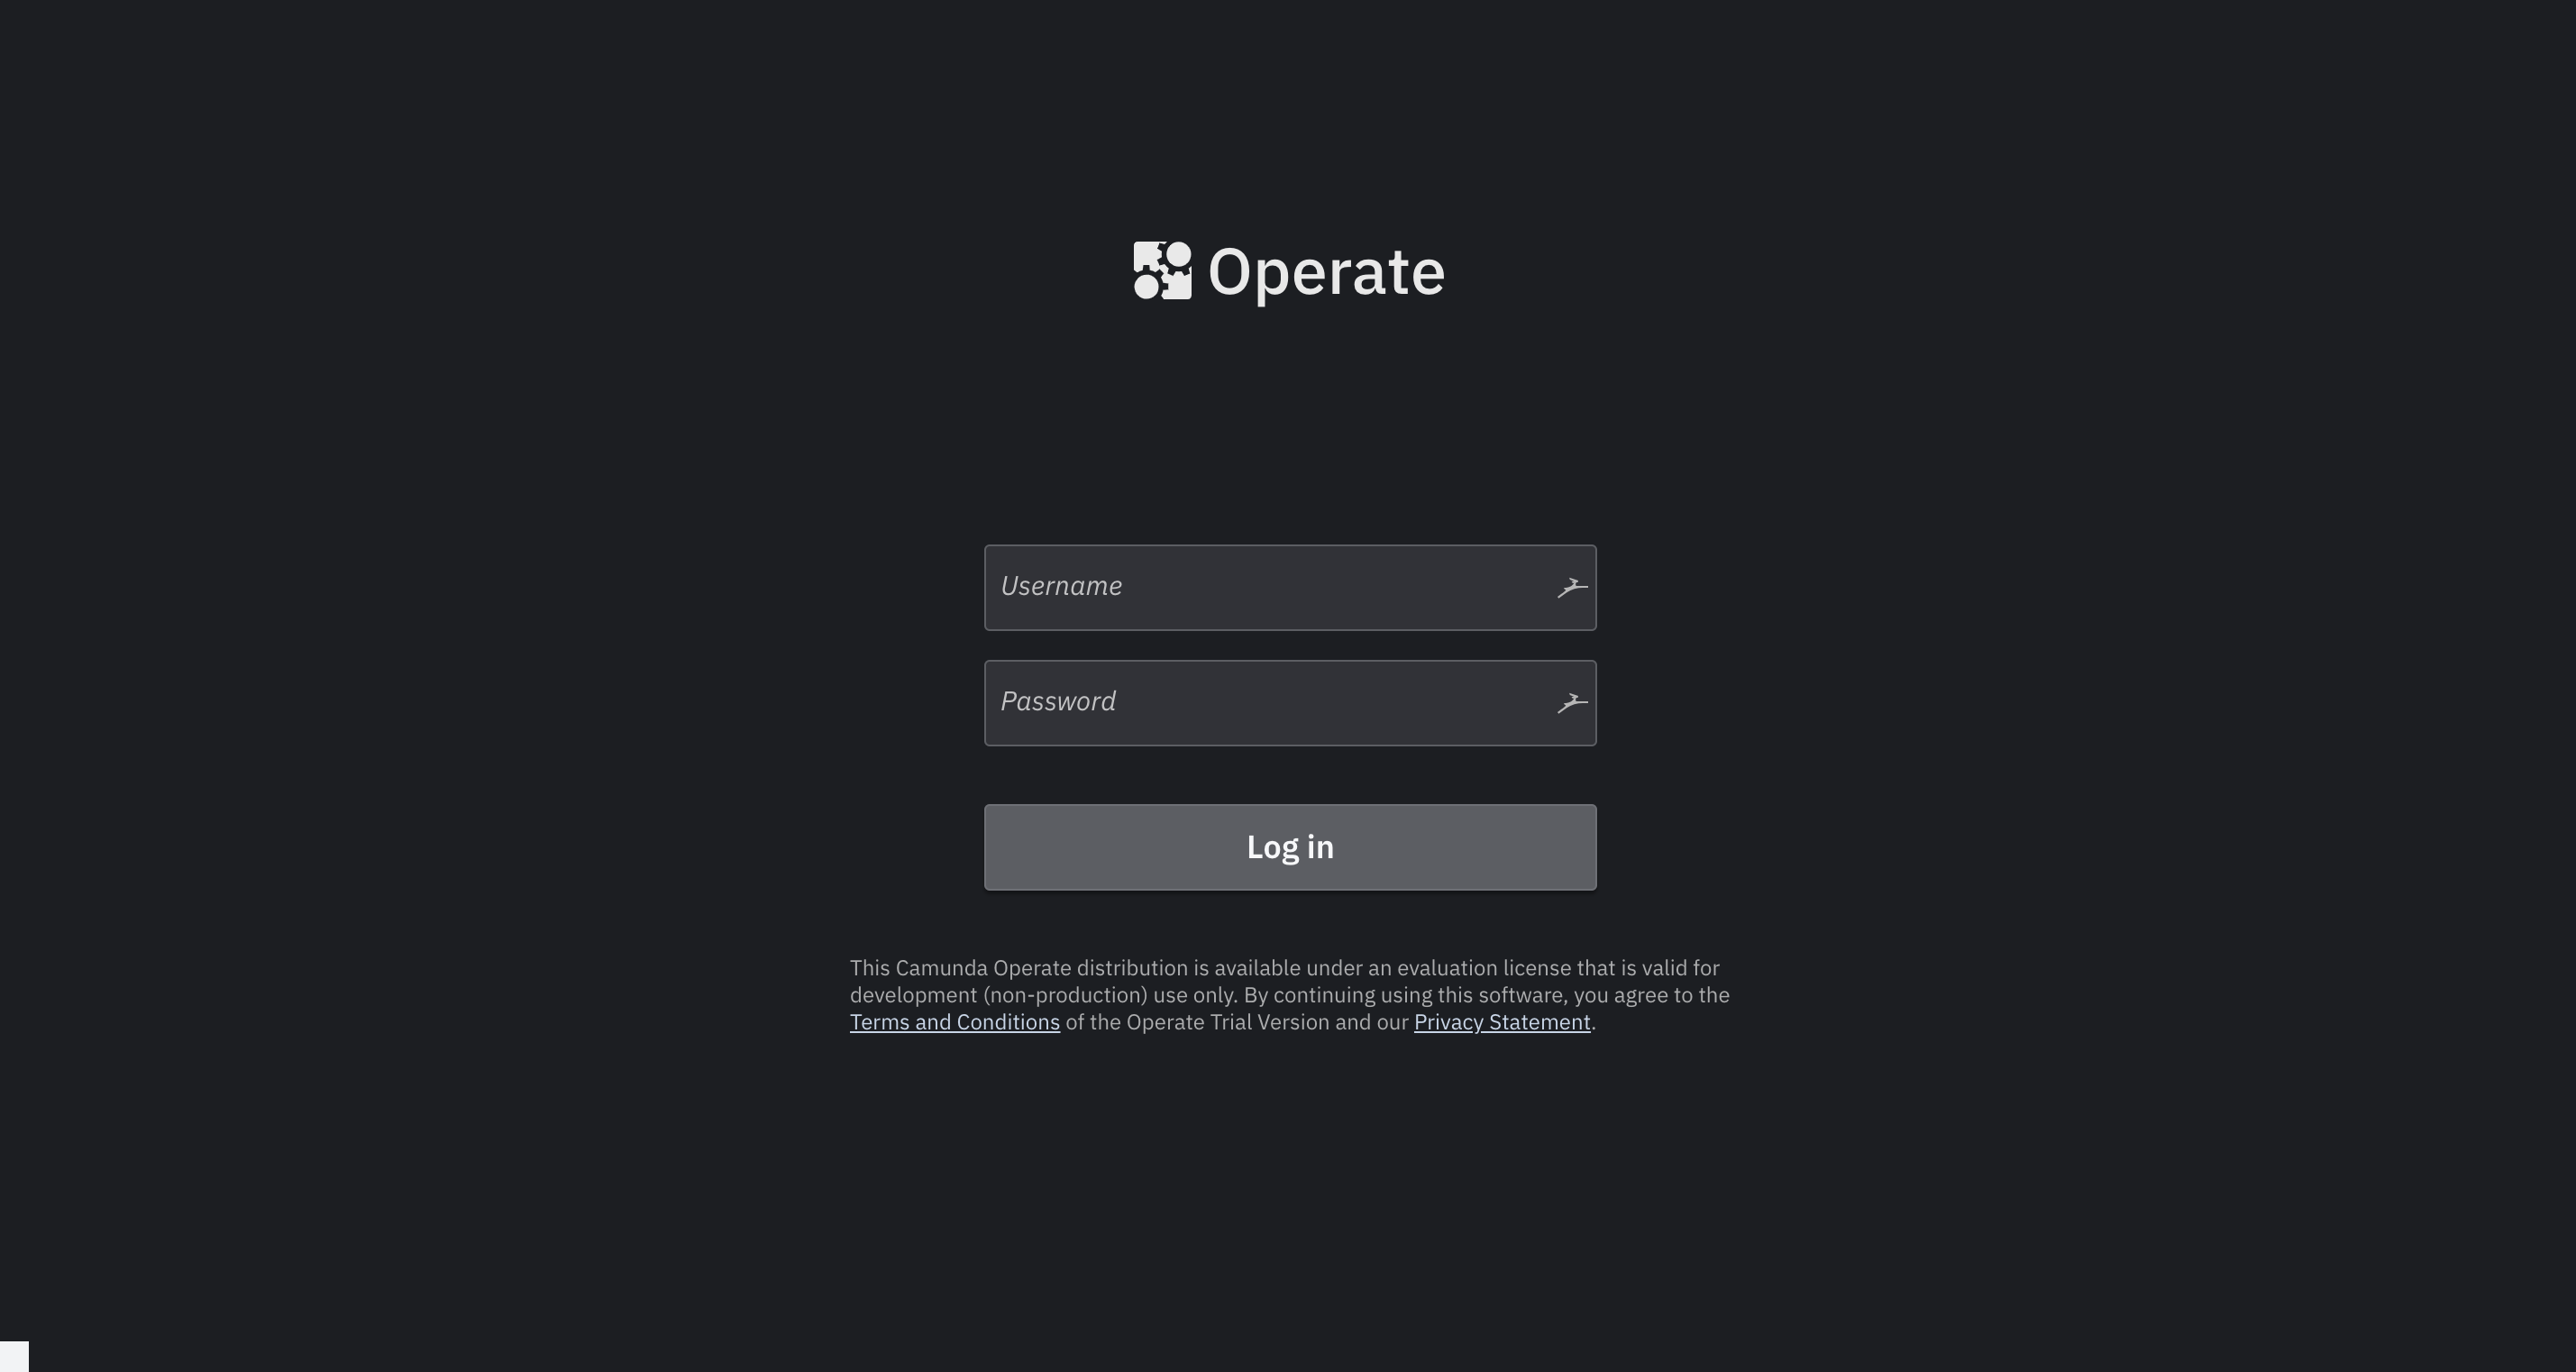
You can leave this tab open as we'll be returning to it shortly.
Check the status of the broker
You can use the Zeebe CLI to check the status of your broker. Open a new Terminal window to run it.
If you are using Docker, change into the zeebe-docker-compose directory.
If you are using separate components, then change into the Zeebe broker directory.
Run the following:
Linux
./bin/zbctl --insecure status
Mac
./bin/zbctl.darwin --insecure status
Windows
./bin/zbctl.exe --insecure status
You should see a response like this one:
Cluster size: 1
Partitions count: 1
Replication factor: 1
Brokers:
  Broker 0 - 0.0.0.0:26501
    Partition 0 : Leader
For all Zeebe-related operations moving forward, we'll be using Zeebe's command-line interface (CLI). In a real-world deployment, you likely wouldn't rely on the CLI to send messages or create job workers. Rather, you would embed Zeebe clients in worker microservices that connect to the Zeebe engine.
But for the sake of keeping this guide simple (and language agnostic), we're going to use the CLI.
Deploy the worklfow
Next, we'll deploy our workflow model via the CLI. We'll deploy the workflow model we created in the previous section.
Linux
./bin/zbctl --insecure deploy order-process.bpmn
Mac
./bin/zbctl.darwin --insecure deploy order-process.bpmn
Windows
./bin/zbctl.exe --insecure deploy order-process.bpmn
You should see a response like this one:
{
  "key": 2,
  "workflows": [
    {
      "bpmnProcessId": "order-process",
      "version": 1,
      "workflowKey": 1,
      "resourceName": "order-process.bpmn"
    }
  ]
}
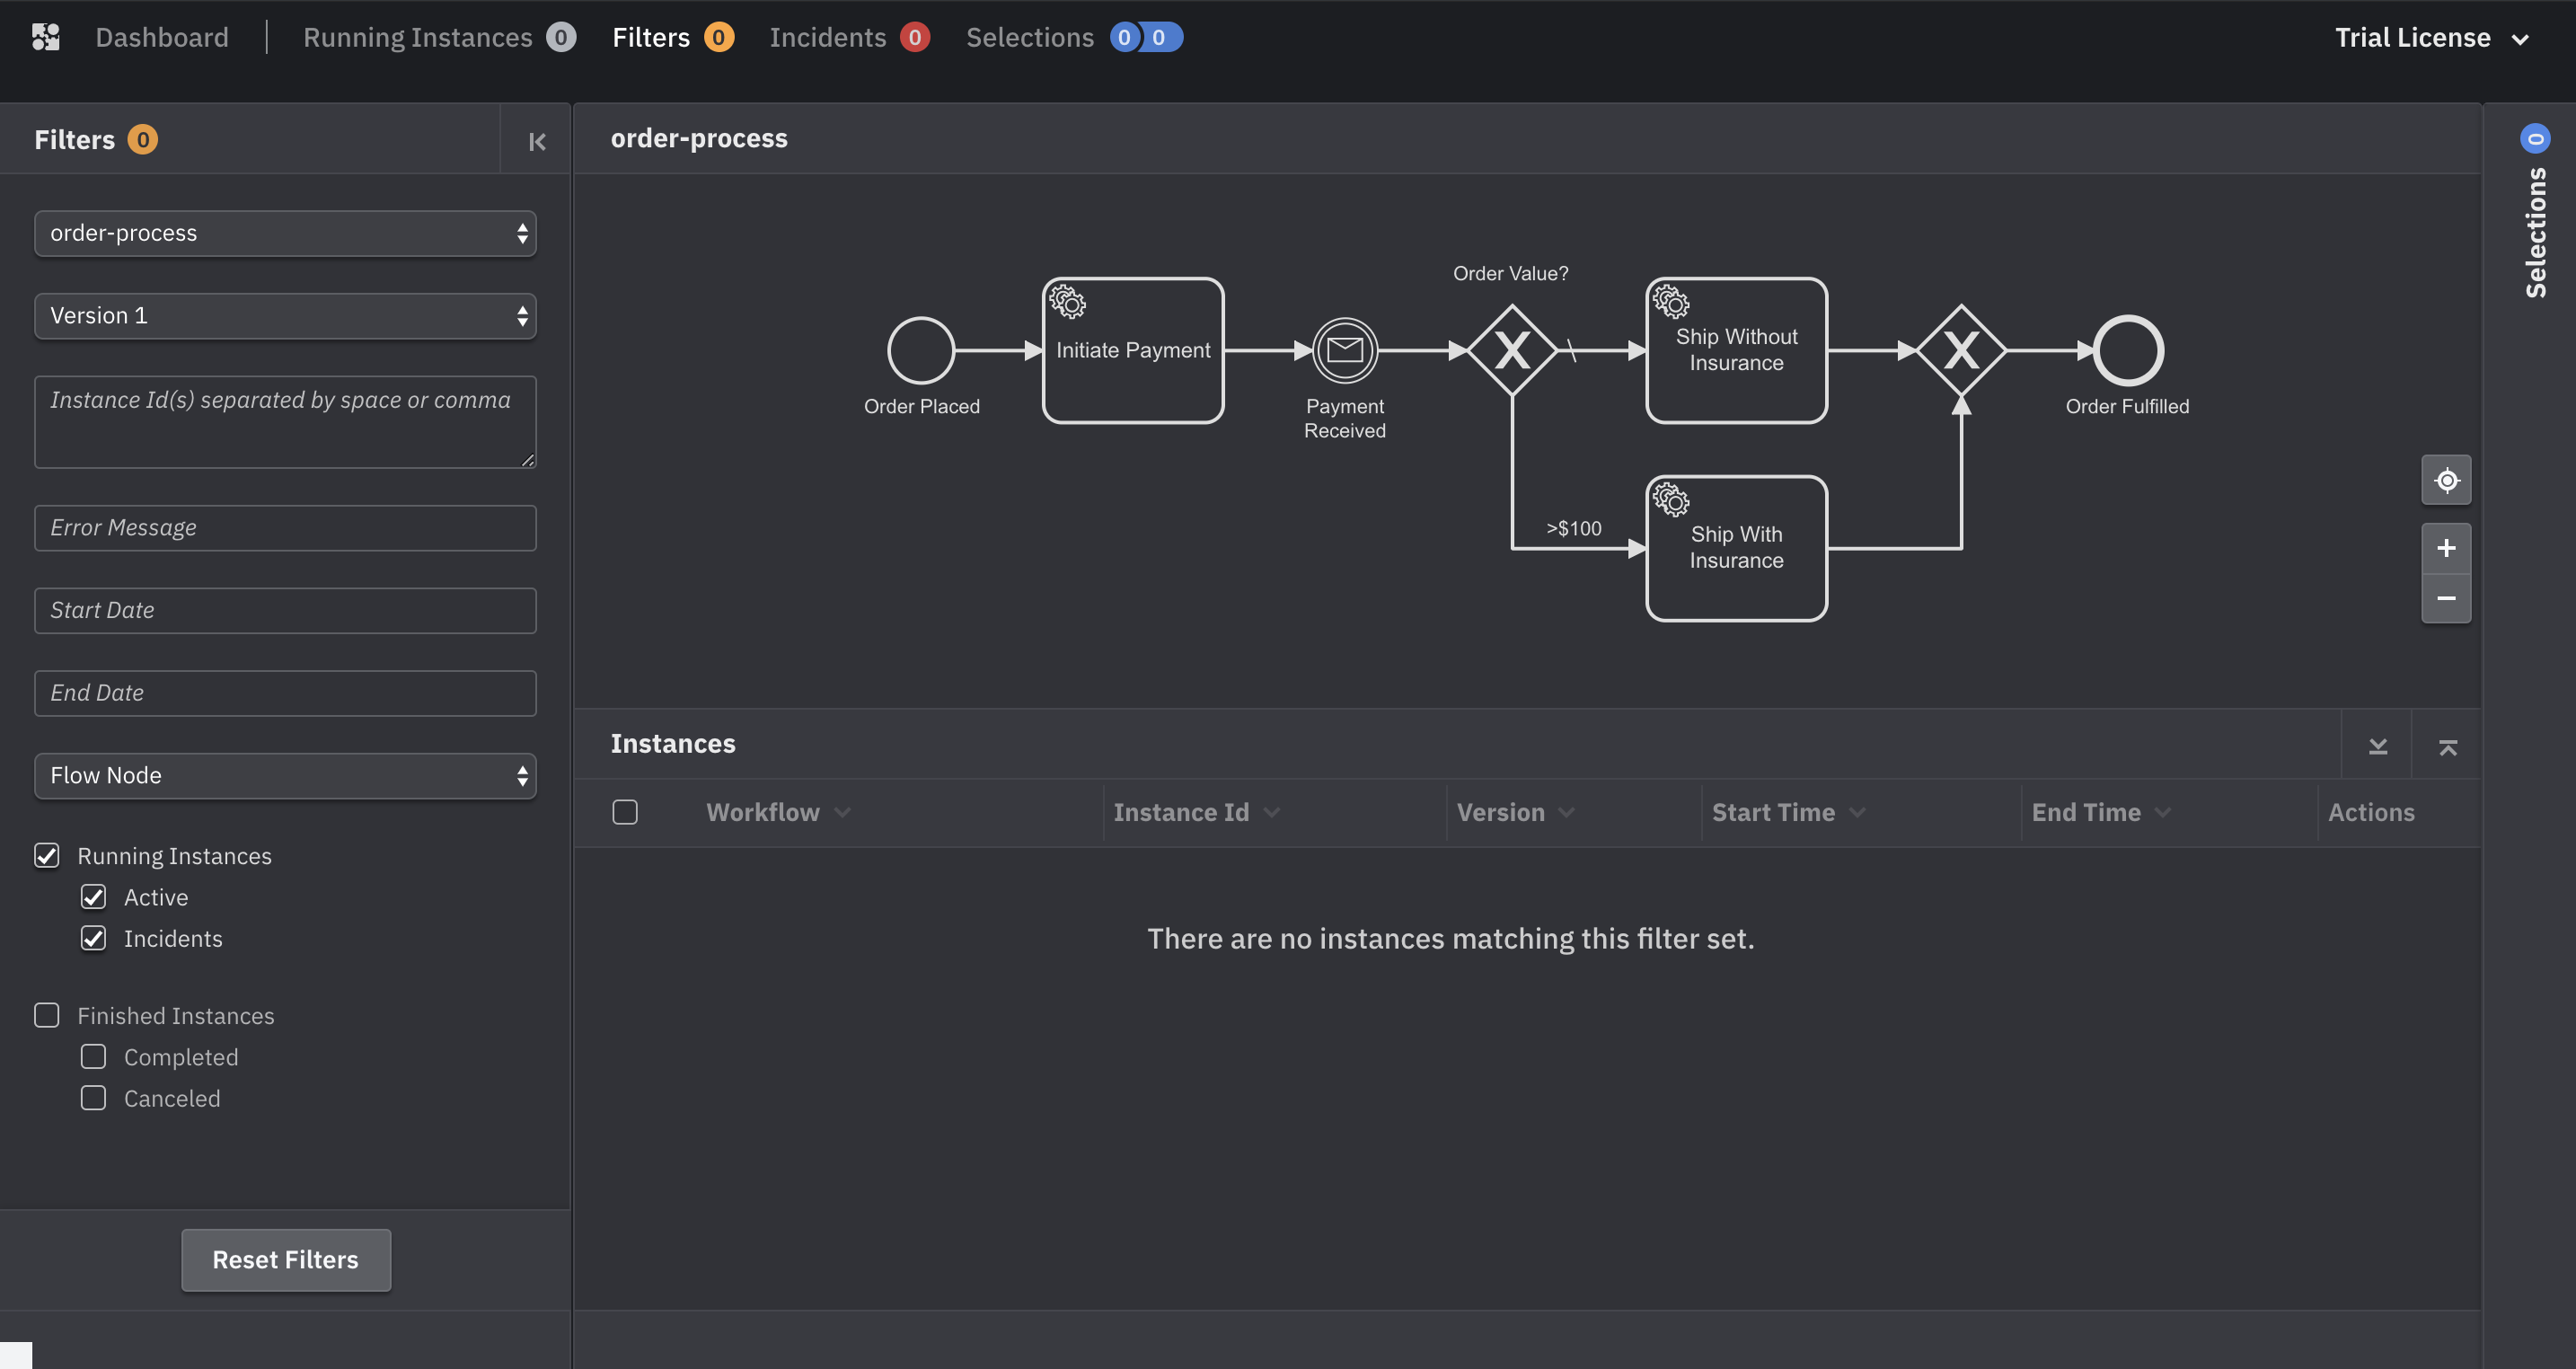
Now we'll take a look at the Operate user interface:
- Go to http://localhost:8080 and use the credentials
demo/demoto access Operate - Click on the
Running Instancesoption in the navigation bar at the top of the interface - Select the
order-processworkflow from the Workflows selector on the left side of the screen
You should see the workflow model we just deployed – the same model we built in the previous section. You won't see any workflow instances because we haven't created them yet, and that's exactly what we'll do in the next section.